Live for Speed offers a variety of in-game options which can be changed at any time.
To open the options menu, press ⇧ Shift + O. When you are on track, you can also enter options by pressing Esc and clicking the Options button.
-
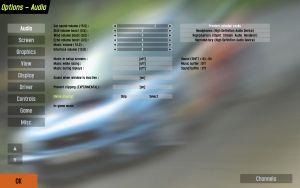
This menu allows you to change the volume of the music and the various sounds.
-
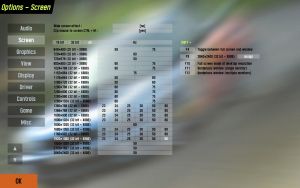
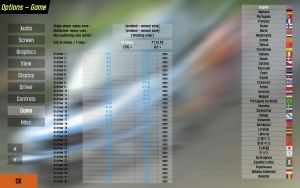
In this menu you can choose the desired resolution, colour depth and refresh rate and assign key commands for different screen configurations.
-
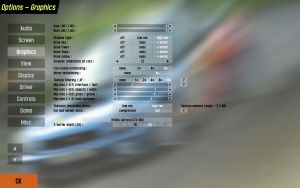
The options in this screen allow you to control the graphics quality. Fine tuning of these options can raise the frame rate or improve the image-quality. Turning off some of the options can vastly improve the gaming experience on some computers that are not quite 'up-to-date'.
-
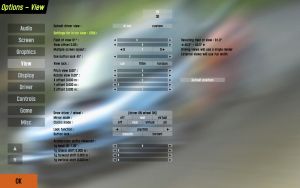
The options in the View category will adjust camera sight in the game. Making a personal preferred setting is recommended as what you see in the game is most important.
-
Here we can change the speedo, type of mirror used, and add a map of where we are on the track.
-
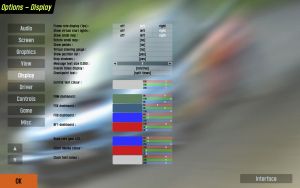
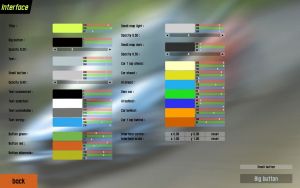
Interface settings allow configuration of the in-game UI and related elements.
-
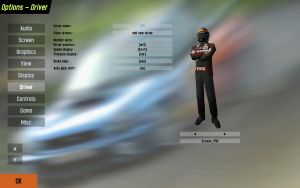
In this menu, details such as screen name and number plate text can be added. You can select your driver (Male or Female), customize helmet and racing suit, and adjust cockpit appearance. Your selected screen name appears next to the player button.
-
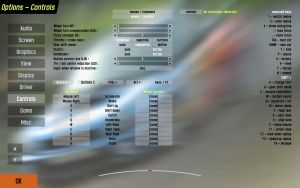
Controls settings allow you to configure input devices and key bindings.
-
Game settings allow adjustment of general gameplay-related options.
-
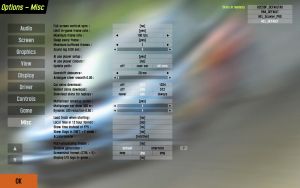
Miscellaneous settings for additional configuration options not covered in other categories.